Simple Example
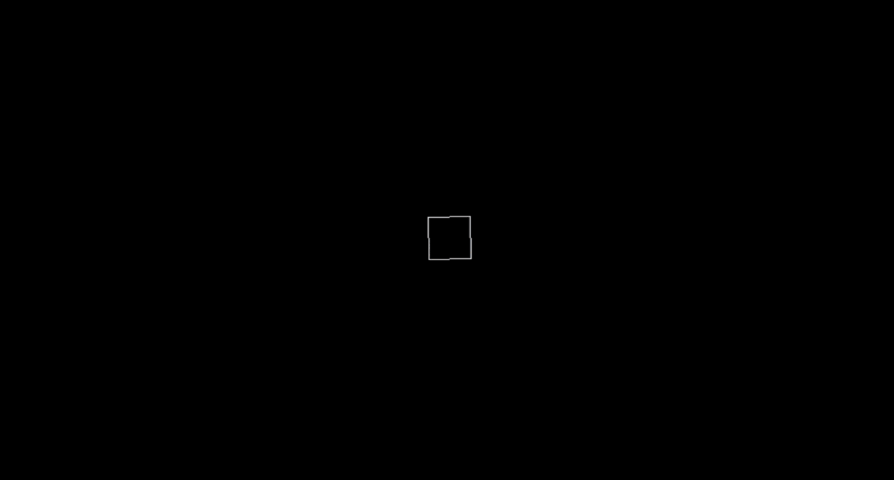
This example will show you how to write a simple application that display a rotating outline square in the middle of the screen, It's important to mention that every Playground2D Application starts by creating a world. The world accepts layers or how I named them "Scenes", The world creates a window for you in which you provide a struct that contains the properties of the window (width, height etc...).
            #define PLAYGROUND_2D

            #include <Playground2D.h>
            #include <glm/glm.hpp>

            using namespace pg2D;

            class RotatingSquare : public Scene {
            public:
                RotatingSquare(const std::string& sceneName) : Scene(sceneName) {}
                ~RotatingSquare() {}

                virtual void OnStart() override {
                    m_Camera = Camera2D(ownerWorld->GetWindow());
                }

                float angle = 0.0f;
                virtual void OnUpdate() override {
                    m_Camera.Update();

                    angle += m_DeltaTime.GetMilliseconds() / 4;
                }

                virtual void OnDraw() override {
                    static RGBA8 color = { 255, 255, 255, 255 };
                    m_ShapeBatch.DrawBox(glm::vec2(0.0f), glm::vec2(32.0f), color, angle);

                    m_ShapeBatch.Render(m_Camera, 1.0f);
                }

                virtual void OnEvent(Event& e) override {

                }

            private:
                Camera2D m_Camera;

                ShapeBatch m_ShapeBatch;
            };

            int main() {
                WindowProperties windowProps = { 1366, 768, "Rotating Square", WindowConfigurations::UNRESIZABLE };
                World world(windowProps);

                world.GetScenesList()->RegisterScene(new RotatingSquare("Rotating Square"));
                world.AddScene("Rotating Square");

                world.Run();
                return 0;
            }
Results
Steps
- Define "PLAYGROUND_2D", This defines a necessary macro inside the framework in order for OpenGL to be initiated.
- Include <Playground2D.h> and <glm/glm.hpp>.
- Declare using namespace pg2D, All classes in Playground2D are enclosed in the namespace pg2D.
- Create a class that is a public sub-class of "Scene".
- Inherit the constructer of "Scene" and assign the parameter "sceneName" to its constructer.
- You have 4 functions that you can override in Scene, for this example we'll only need 3 of them.
- Create a Camera2D object and assign it as per its constructor in the "OnStart" overridden method.
- Don't forget to update Camera2D in "OnUpdate".
- Create a ShapeBatch object.
- Create a float that represents the angle of the box and increment it constantly with DeltaTime.
- Create a RGBA8 struct that will the box color.
- You can now draw the box with the DrawBox method in the Shape Batch object, The first parameter is the position, The second is the dimensions, The third is the color, and the fourth is the angle.
- Render the Shape Batch object by calling the method and passing on which camera do you want to render this object on and the line width.
- Inside "int main()" create a WindowProperties struct that takes in the width, height, label, and configurations of the window.
- Create a world and assign the window properties to it.
- Register the scene in the scenes list.
- Add the scene to the world.
- Run the world